


To build this project you’ll need:
(1) 4’ x 8’ x 1/2” sheet of plywood per panel
(1) 4’ x 8’ sheet of normal peg board (total)
(4) 1” x 2” x 3.5’ per panel
1” wooden dowels
Tools you’ll need:
1” Forstner Drill Bit
Drill
Nail Gun
Level
Philips Head Screwdriver
Step 1: Deciding on spacing
Start by figuring out the spacing of your holes, you can do them as close together, or as far apart as you want! In this example the holes are 6” apart.
Step 2: Centre your holes
To centre them on the plywood divide the 6” length by 2 and start there. This means that the first and last row of holes are 3” from the edge.
Go through and circle-mark every 6th hole horizontally and vertically with a marker. This will give you the 6” spacing.
Step 3: Stack all of your plywood
There are a few important things to know.
- Stack your wood so that it is all face up. When the drill bit punches through the back it can damage the veneer and its not so cute.
- Put some wood or an extra piece of plywood underneath to raise up your wood so that you don’t have to worry about accidentally drilling into the ground and ruining your bit.
Step 4: Mark where you’re going to drill
Once your wood is stacked and the hole guide has been placed (remember your 1/2” allowance that we talked about earlier!), take a Philips head screwdriver and mark each spot by tapping on the end of the screwdriver with a hammer. Don’t be afraid to give it a good whack! The whole point of this is to mark the plywood so that it’s unmistakeable where your hole needs to be!
Step 5: Make a jig
The hardest part of this project is making sure that your drill stays at a 90 degree angle while you are drilling your holes. You can use a few different sizes of scrap wood to create a corner pocket to guide the drill straight down.
Step 6: Drilling the holes for your peg board
Carefully ‘peel off’ the first layer of veneer before you go full throttle with the drill. The Forstner Drill Bit will do this for you, you just have to very slowly turn it to lift up the top layer. Once you have done that you won’t have any problems with the wood splitting on the front.
Installing your wooden peg board
Installing your boards onto the wall is really simple but you will need at least two people. You’ll need (4) 1” x 2” pieces of wood cut down to 3.5 feet per panel.
Step 1: Install the support boards
Determine the height of your installed peg board. If possible, have one person hold the board in that spot while the other one marks on the wall, where support boards can go without being seen through the holes.
Find where your studs are on the wall and mount the 1 × 2’s into as many as you can and make sure you’re using a level.
Step 2: Attach the peg board
Attach the peg board using small head cabinet screws or high quality finishing nails. You can use 4 nails per 1 × 2 and they are great because they almost disappear. You can use a little bit of wood putty to hide them completely. The nails will be strong enough to hold the peg board. You can frame out the sides of the plywood, or leave them open. Whatever suits your style.
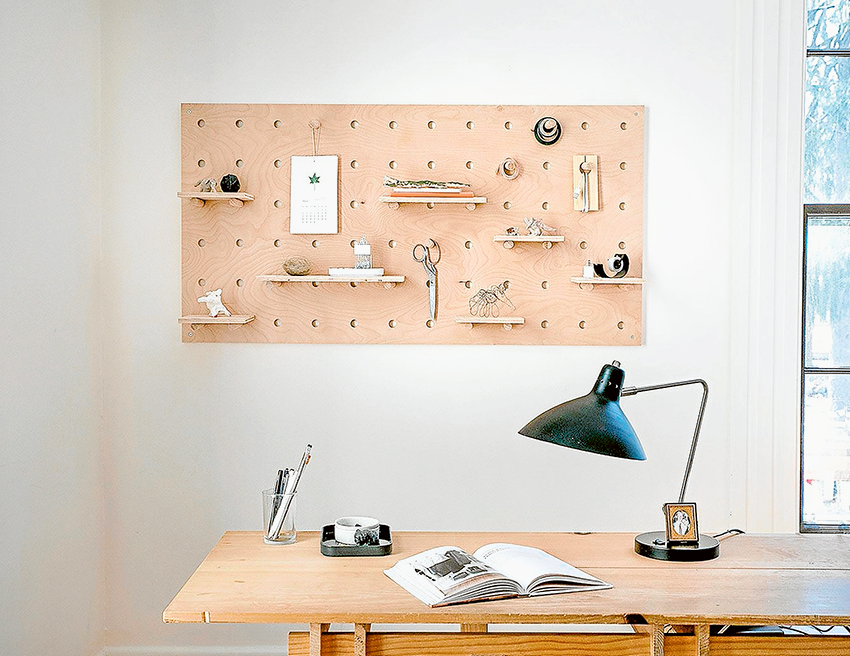
Making pegs for peg board
The length of your 1” dowels depends on the width of your shelves. The shelves used here were 8” deep so the pegs were 11” long that way they could fit into the hole, against the wall, and be a little longer than the depth of the shelves.
Peg board shelves
If you want to use your peg board shelves for home decor, don’t go shorter than 8”. That makes it a little hard to use standard size décor on them.


