


 THE weather is now at the perfect temperature to get outside and spend some time in your garden, but if you don’t have a garden, here is a step by step guide on building your very own raised garden bed.
Set out the bed
Measure the sleepers then mark the bed on the ground using set-out paint, cutting any sleepers to fit with a circular saw. Lay the side sleepers end to end then position the ends against the sides, using a builder’s square to ensure the corners are 90°.
Secure the sleepers
Position metal angle brackets in each corner of the raised bed, securing with a cordless drill using galvanised screws. Join the side sleepers using galvanised strapping and screws. Tip: Drill pilot holes to prevent the timber sleepers from splitting.
Line the beds
Position at least five layers of newspaper in the base of the bed, making sure there are no gaps, to provide a barrier for weeds while allowing moisture to penetrate. Tip: Don’t use cardboard or glossy paper as it takes a long time to break down.
Add the soil
Cover the newspaper with a 50mm thick layer of lucerne hay then fill the raised bed with soil, levelling it as you go. Mix in a 50mm layer of well-rotted compost, firm down the soil and water thoroughly, adding more if the level drops well below the top of the bed.
Plant the seedlings
Let the soil settle for three to five days then make planting holes in the bed by hand or using a trowel. Position the seedlings in the planting holes spaced 200 to 300mm apart, depending on the variety, firm down the soil and water in well.
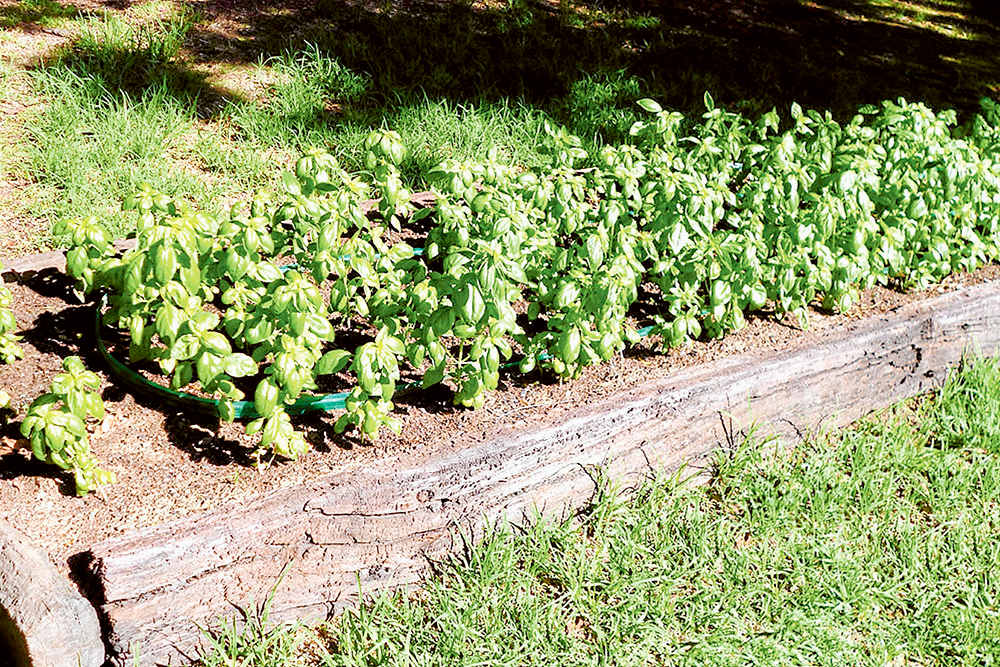
Install the irrigation
Position a soaker hose in the raised bed, running it lengthways between the rows of seedlings, then connect it to the garden hose. Tip: To mulch the bed, add a 100mm layer of lucerne hay or sugar cane, positioning the soaker hose on top