


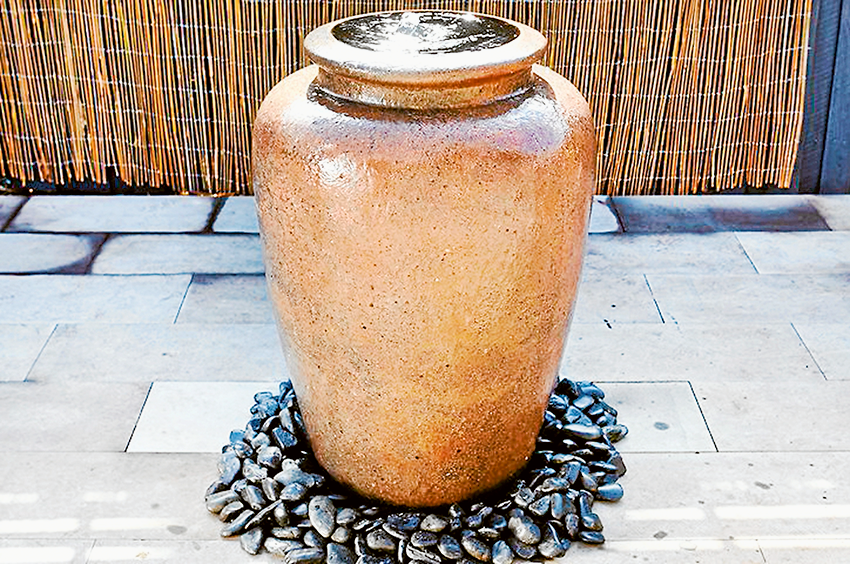
YOU can quite simply add a bit of ambience to the look and sound of your garden by making your own water feature with tips from Bunnings Warehouse.
What you need:
Tools
Shovel
Materials
Conversion kit
Pond pump
Submersible silicone
Waterproofing membrane
Vinyl tubing
Step 1. Prepare your area
First you need to prepare the area where your water feature will go. This may mean you need to remove some pavers or bricks. If it’s going into lawn, you’ll need to dig a small hole for the pump to sit in. You should also bury conduit in the ground underneath so an electrician can hook up power to your water feature.
Step 2. Waterproof your water feature pot
Apply a couple of coats of waterproofing membrane, such as bitumen paint, to the inside of the pot. Start from the top of the rim down to the base of the pot. You’ll need to give each coat a couple of hours to dry before you apply the next coat.
Step 3. Dig your hole for the sump
The sump is part of the conversion kit that keeps the water level consistent and acts as a filter. You’ll need to dig a hole so you can drop the sump in level with your surface. Place the sump in the hole and using a spirit level, line up the top of the sump with the surface around it. This will make sure the pot sits level in the ground and the water sits level inside the pot. A good tip is to compact the ground underneath your sump. This will provide you with a stable base for your pot.
Step 4. Install your pump inside the sump
First choose a pump that is suitable for the size of your pot. If you’re unsure what size pump to choose, go for a bigger size. This will make sure you have plenty of power to get the water to the top of the pot. Remove the lid of the sump and place the pump inside the support chamber. Feed the pump cord through the chamber side hole, then place the pump and support into the bottom of the sump. It should easily click into place.
Step 5. Attach the sump top to the base
To attach the top of the sump to the base, use the pump attachment. One end connects to the pump and the other goes through the top of the base and into the pot. That end has two rubber washers, one of them will go underneath the sump and the other inside the pot.
Step 6. Feed the power cord through the conduit
Feed your power cord through the conduit and attach it to the unit so you have power for your water feature. You may need a qualified electrician to install a power point nearby if you don’t have one already.
Step 7. Seal up the sump
Inside your kit is a flange to seal up the sump. This needs to go through the hole and into the vinyl tubing below. Then put a bead of silicone around the outside to complete the seal. Then with the help of a friend, carefully place the pot on top of the flange and into position.


